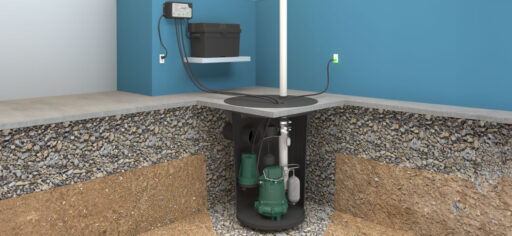
At least 80% of self-priming pump problems occur on the suction side of the pump. These are the ten key issues to be aware of when installing and running self priming pumps in any application.
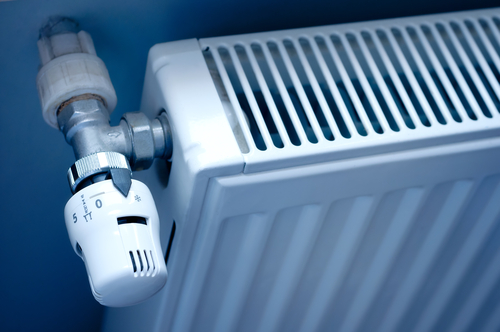
1. Prime your pump
It’s essential that you fill the pump priming chamber with water before its initial use. Consult the manual for its location and use. Be aware that you will still be required to manually re-prime after the initial priming, as liquid can be lost to evaporation, leakage and movement of the pump.
2. Check the lift
At sea level, it is theoretically possible to lift water at a constant 65 degrees by 34 feet with a self priming pump. But if your pump location doesn’t fit these ideal conditions, then you will need to be realistic and limit the suction lift by around 10 feet. This accounts for variations in fluid temperature, elevation about sea level, specific gravity and so on.
3. Is Your self priming pump in the right position?
Your pump should be positioned no more than 30 feet from the suction source, as limiting the length of pipe is essential to a long pump life. The shorter the hose, the shorter the initial priming time. Check with your manufacturer whether your pump is robust enough to cope with any solids in the pipeline or whether you will need to fit a foot valve or strainer.
4. Check for leaks
If your pump is taking more than four minutes to prime, then it’s likely that you have an air leak in the line. Try wrapping cling-film around flanges to test for leaks. Because the pump is operating at lower than atmospheric pressure, there will be no water leakage – it’s air in the line that causes priming problems.
5. Does your pump have an air vent?
For your pump to prime properly, the air in the suction side of the system needs to have somewhere to go when displaced by liquid entering the system. You may need to contact the pump manufacturer for a solution to this issue.
6. Is your piping the right size?
Your suction piping and your pump suction must match in a self-priming pump – more air means more priming time, which can adversely affect the efficiency and lifespan of your pump. Don’t use piping that is either too big or too small. Check that the suction pipe does not rise higher than the pump – these high points cause air to accumulate, binding the pump suction line.
7. Check your PSI
It’s highly likely that your water source will change constantly – the cooler it is, the lower the vapour pressure will be and the greater the PSI. At higher temperatures and levels of vapour pressure, you may experience negative lift, so monitor PSI regularly. Proper submergence is also important in avoiding air bind.
8. Avoid damage from freezing
If the temperature is set to fall below freezing point, it’s important to drain your self-priming pump, as the water in the priming chamber can freeze and expand to crack the chamber. If draining the system is impractical, ensure you provide a heat source to prevent freeze damage.
9. Check your impeller
If the impeller comes loose, it may damage the pump through reverse rotation. This can cause inefficient operation, preventing the pump from priming or operating correctly. Check the impeller is correctly seated on a regular basis, particularly if your pump is over a year old.
10. What’s the internal diameter of your flex pipe?
The internal diameter of flex pipe is usually smaller than that of standard pipe and can affect your net positive suction head available (NPSHa) calculations. And some older flex pipes have a liner that is prone to collapsing under suction and thus blocking the line.
Following these ten simple checks should ensure that your self-priming pump runs smoothly and efficiently for many years to come.