In any ‘wet’ central heating system, it’s the circulation pump that is one of the most likely components to fail. This is hardly surprising, as a central heating pump works pretty hard. When your pump needs replacing, you may be tempted to call a plumber, but in fact it’s a fairly easy job to do yourself. Here’s how to know if your pump needs changing.
First of all, you need the right tools for the job. You’ll need a couple of adjustable spanners, an electrical screwdriver and a paint-roller tray and some cloths to catch any spillages and drips. Next, make sure you get the right type of replacement pump. You’ll find a wide range on Pump Sales Direct, and there will be a label on your old pump that will help you determine the type you need.
Changing the central heating pump
1. When you’ve got together all that you need, you’re ready to start changing the pump. Begin by disconnecting the pump’s electricity supply. There’ll usually be an isolator switch allowing you to turn off the supply to the system. With this safely off, you can remove the cover to the pump’s electrical connections; make a note – or take a photo – of where the wires go before you disconnect them.
2. In most modern heating systems there will be isolator valves above and below the pump, allowing you to turn off the water supply. Close both of these by turning them clockwise; you can then unscrew the connections holding the pump in place – make sure you don’t disturb the connections that attach the isolator valves to the rest of the pipework. Use your paint tray to catch any water that’s released.
3. With both connections undone, you can remove the old pump and any washers. The washers can be reused if you must, but it’s best to replace them with new ones to prevent future problems. Put the new pump and washers in position and do up the connections. Make them finger-tight to start with to ensure you haven’t damaged the threads, and then tighten them up with your adjustable spanners. Make sure not to over-tighten.
4. You can now reopen the isolator valves, checking for any leaks as you do so. Check that the electrical connection box is completely dry and re-attach the connections – refer to the sketch or photo you made at the start.
Restarting the system
Now you can test the system. Switch the power back on and turn up the room thermostat to kick the heating into life. You should be able to hear the new pump turning when the system is on. Changing the pump is likely to have introduced some air into the system, and there will be a bleed screw on the pump itself to allow you to get rid of this.
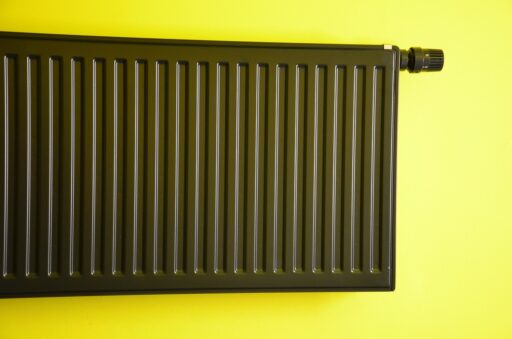
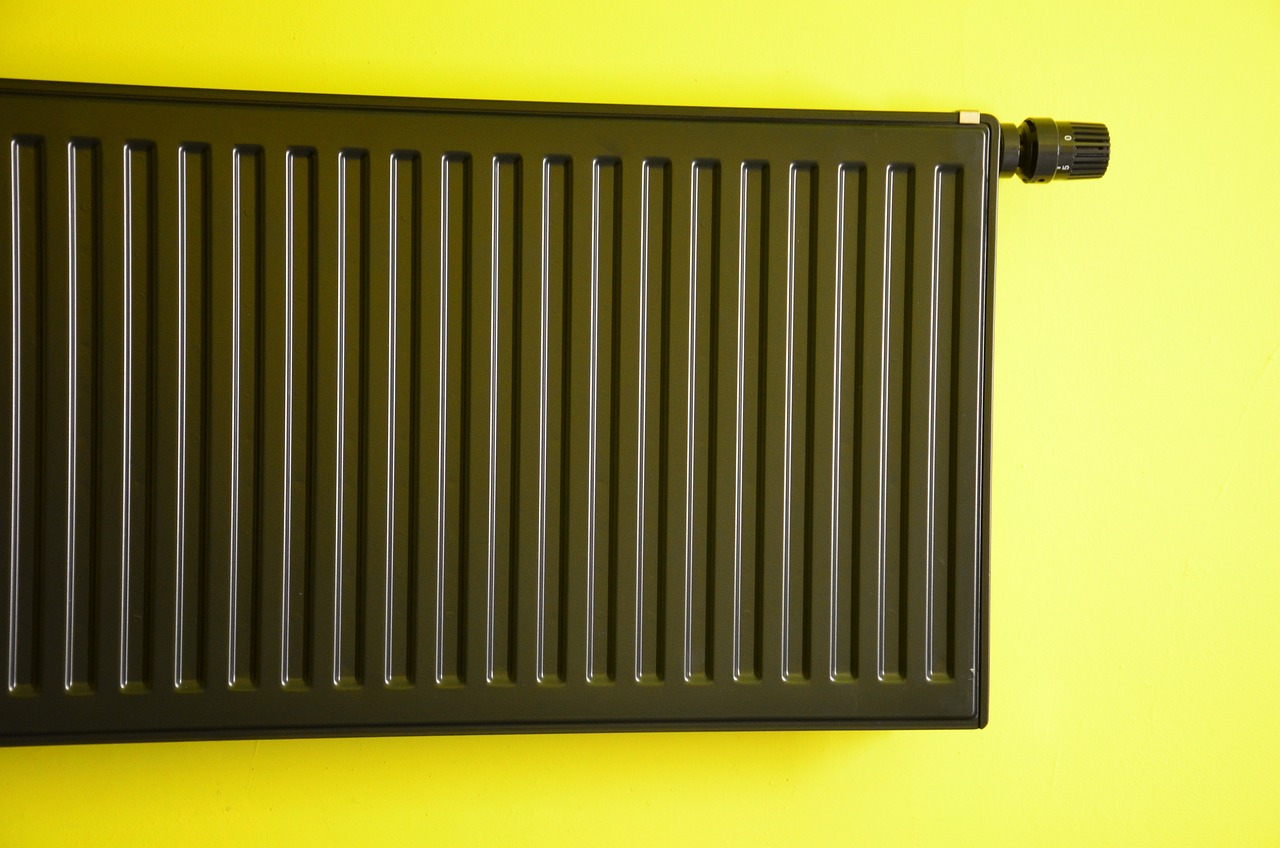
Open the bleed screw gently and you should hear hissing as the air escapes. Keep a tray or cloth handy to catch any dribbles. When the hissing sound stops and you see some water, you can close the valve. It’s also a good idea to bleed the radiators at this point to ensure no air has been introduced into the system.
That’s all there is too it – your new pump should now be running and your heating operating properly again. Shop your replacement central heating pump